


Charlie Ngo
•
Last updated: 7 October, 2026
Shopify Product Configurator: 2D vs 3D, Best Apps & Costs (2026)
Shoppers hesitate to buy a $1,200 sofa or a custom ring when they can’t see the exact version they’re...
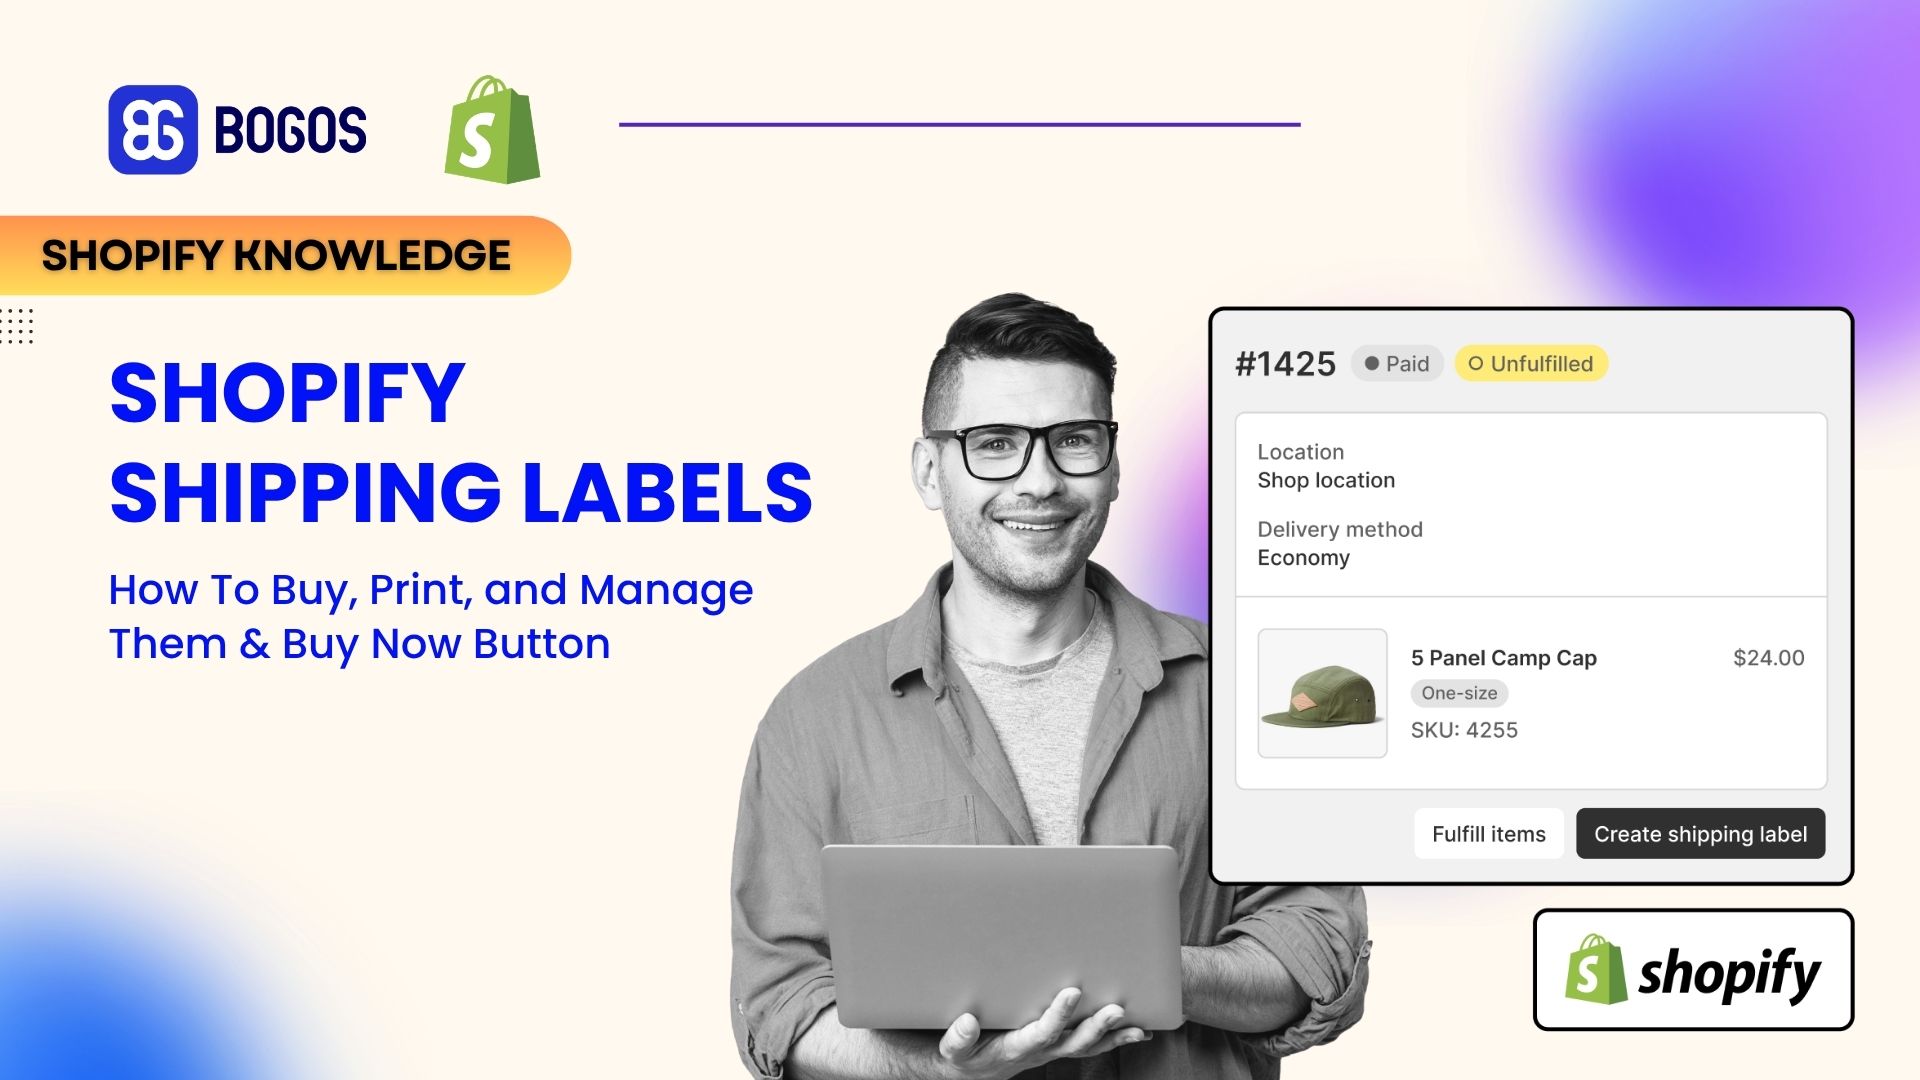
Shopify Shipping Labels: How To Buy, Print, and Manage Them (2026)

Marketing Manager
Summarize this post with AI
Shopify shipping labels are the carrier labels you buy and print inside your admin to get each order out the door. Getting them fast, cheap, and accurate is what keeps fulfillment from becoming the bottleneck as your store grows. Below, you’ll go from a fresh order to a printed label: how to buy and print one with specific requirements for each carrier, learn how to pick the right label printer, and fix the common errors that slow sellers down.
I’m Charlie Ngo, an ecommerce expert at BOGOS with 11 years of helping Shopify merchants increase sales, lift average order value, and tighten conversion rates. I have watched a lot of stores lose time and money on labels, so this guide keeps you on the fast, correct path.
A Shopify shipping label is a carrier-generated label with the sender and recipient address, a tracking barcode, and the service used, that you buy and print directly inside your Shopify admin at a discounted rate. Labels are tied to an order, so you cannot print one without an order to fulfill.
To buy a label, you need three things: an eligible fulfillment location, an order to ship, and a printer (a regular desktop printer or a supported label printer). If you set up your store recently and have not configured your locations yet, do that first in our guide to setting up shipping and fulfillment locations.
You are not billed for each label at print time. Instead, label costs go to the card on file for your Shopify account, at rates discounted by your plan. Shopify advertises savings of up to 88% off retail with USPS, according to Shopify’s shipping carriers page. You can calculate the rate before you buy, so there are no surprises.
The carriers you can use depend on where you ship from. Here is what Shopify Shipping supports and how far the discounts go.
| Carrier | Where it ships from | Best for | Max discount off retail |
|---|---|---|---|
| USPS | US | Lightweight domestic parcels | Up to 88% |
| UPS | US | Heavier and expedited domestic | Up to 82% |
| DHL Express | US | International and express | Up to 80% |
| FedEx | US | Express and freight | Up to 80% |
| Canada Post | Canada | Domestic and international from Canada | Up to 58% |
| Australia Post | Australia | Domestic Australian parcels | Up to 40% |
| Evri, DPD, Royal Mail, Yodel | UK | Domestic UK delivery | Varies by carrier |
Your Shopify Shipping discount depends on your plan, with higher plans generally unlocking better carrier rates. Shopify Shipping is available in the US, Canada, the UK, Australia, and selected EU countries, including France, Germany, Spain, and Italy.
If Shopify Shipping is not available in your region, or you do not have a carrier account, you can still create a basic label with Shopify’s free label template generator or use a third-party shipping label app.
From your Shopify admin, go to Orders, open the order you want to ship, and click Create shipping label. Confirm the shipping address and package weight, choose a carrier and service, then click Buy shipping label. Once it is purchased, click Print label, pick your printer and paper size, and print.
That is the whole loop. Here it is step by step.
Printing works one of two ways, depending on how many orders you are shipping. Pick the option that fits.
Three things make bulk label purchases faster:
Keep two bulk limits in mind. The Shipping labels page shows up to 100 orders per page, so larger batches need to be processed page by page. A red critical error blocks the label purchase, while a yellow warning does not. Fix or remove any label with a red error before continuing.
If one order needs multiple packages, add them inside Create shipping label. If you need to create a separate replacement label for the same order, you may need to void the original first and buy a new one, or use the carrier’s own shipping tools.
After purchasing a label, manage it from Orders → Shipping labels. From there, you can reprint labels, void unused ones, create return labels, and handle customs documents for international shipments.
One important distinction: voiding a label returns unused postage to your account. It does not refund the shipping charge your customer paid at checkout. That requires a separate shipping refund from the order.
A 4 × 6 direct thermal printer is the best choice for regular shipping. It prints the standard label size carriers expect and does not need ink or toner. You can still start with a regular desktop printer and Letter-size paper, but a thermal printer becomes more practical as your shipping volume grows.
The main choice is direct thermal vs. thermal transfer. For Shopify shipping labels, direct thermal is the better option because it uses heat-sensitive paper with no ink or ribbon, making it ideal for labels that only need to last through delivery.
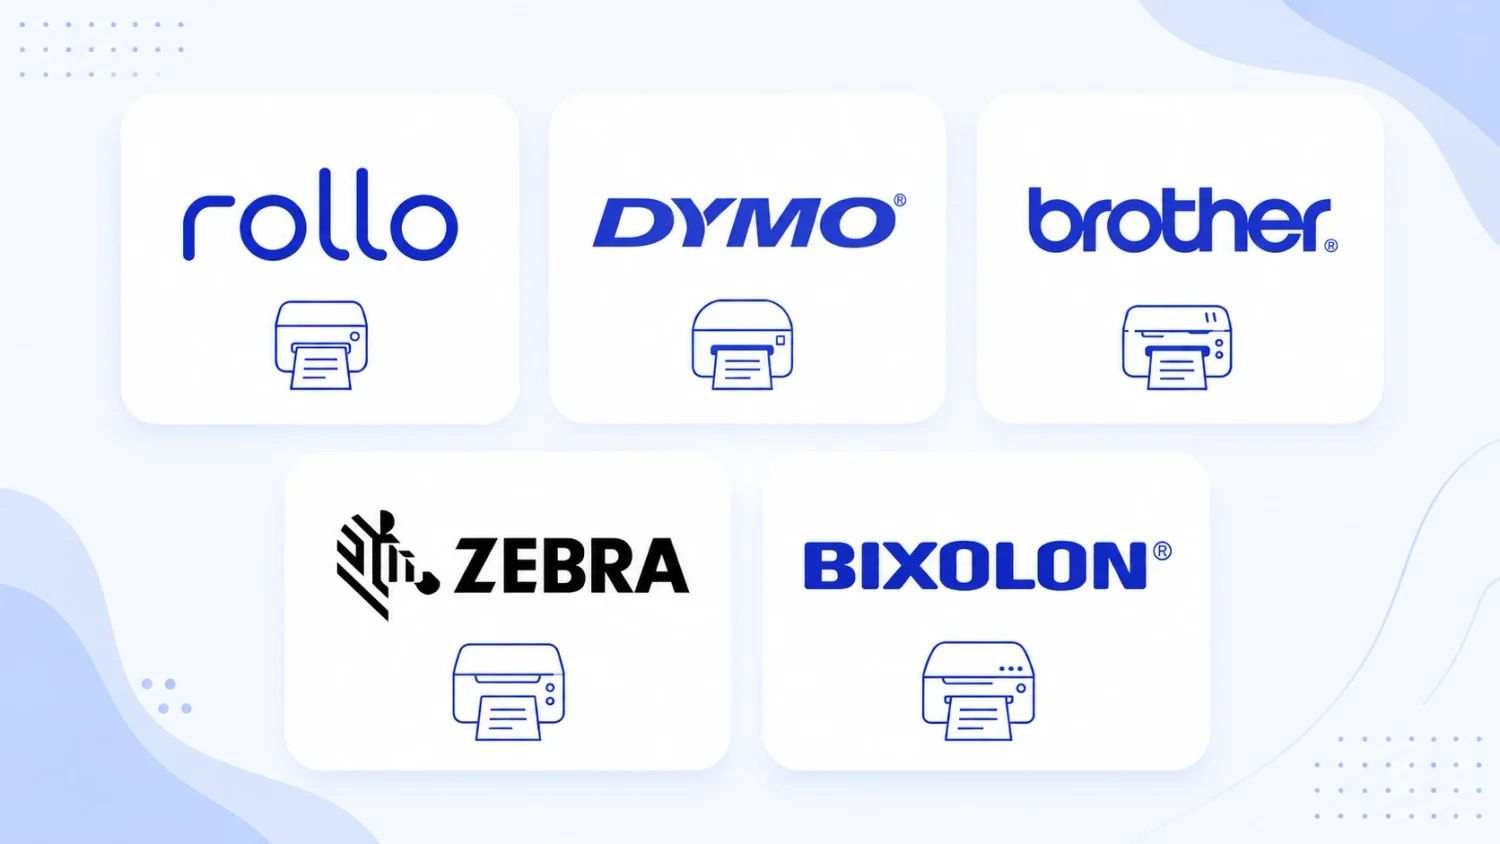
The table below compares the most common label printers recommended by Shopify, so you can quickly see which option fits your needs.
| Printer | Pros | Cons | Typical price |
|---|---|---|---|
| Rollo | – Works with affordable generic rolls and multiple label sizes- USB and Wi-Fi options available | – No built-in screen- Setup can feel technical for first-time users | $200–$280 |
| DYMO LabelWriter 5XL | – Fast, reliable 4 × 6 printing- Simple setup | – Uses proprietary labels that can cost more over time- USB connection only | $200–$290 |
| Brother QL-1110NWB | Offers USB, Wi-Fi, Bluetooth, and Ethernet connectivity | – Higher upfront cost- Uses Brother-specific DK rolls | Around $335 |
| Zebra ZSB series | – Sharp barcode printing- Wireless setup- Easy-to-load label cartridges | – Requires cartridge-based label stock- Higher-end models cost more | $130–$230 |
| Bixolon | Durable, Shopify-supported models with USB and Wi-Fi options | Less common, so setup guides and compatible third-party labels can be harder to find | Varies |
Match the printer to your shipping volume:
Connectivity matters too. USB keeps the printer tied to one workstation, while Wi-Fi or Bluetooth gives your team more flexibility to print from different devices. Finally, check the ongoing cost of label stock. Printers that require proprietary rolls can cost more over time, while models that support generic labels usually keep recurring costs lower.
Shopify shipping label template” can mean two different things:
Option 1: Shopify’s free label generator
Use Shopify’s free shipping label template if you are shipping manually or do not have a carrier account. It creates a printable label with the sender, recipient, and package details. However, there is no tracking barcode because the label is not connected to a purchased carrier service.
Option 2: A carrier label bought through Shopify
If you buy a real shipping label in Shopify, customization is limited. The carrier controls the barcode, layout, fonts, and branding.
| You can change | You can’t change |
|---|---|
| Sender or store name under Settings → Shipping and delivery → Documents → Sender name on shipping labels | Tracking barcode or its position |
| Origin and return address under Settings → Locations | Carrier fonts and layout |
| Paper format, such as 4 × 6, Letter, or A4 | Carrier branding |
So if you want more branding control, focus on the packing slip, not the carrier label. You can customize the packing slip template or use Shopify’s Order Printer app for more control over the logo and layout.
Stick with Shopify’s built-in shipping labels if they cover your location, carriers, and fulfillment setup. They are usually the cheapest and simplest option. Turn to a third-party shipping app only when there is a clear gap, which is commonly known as below:
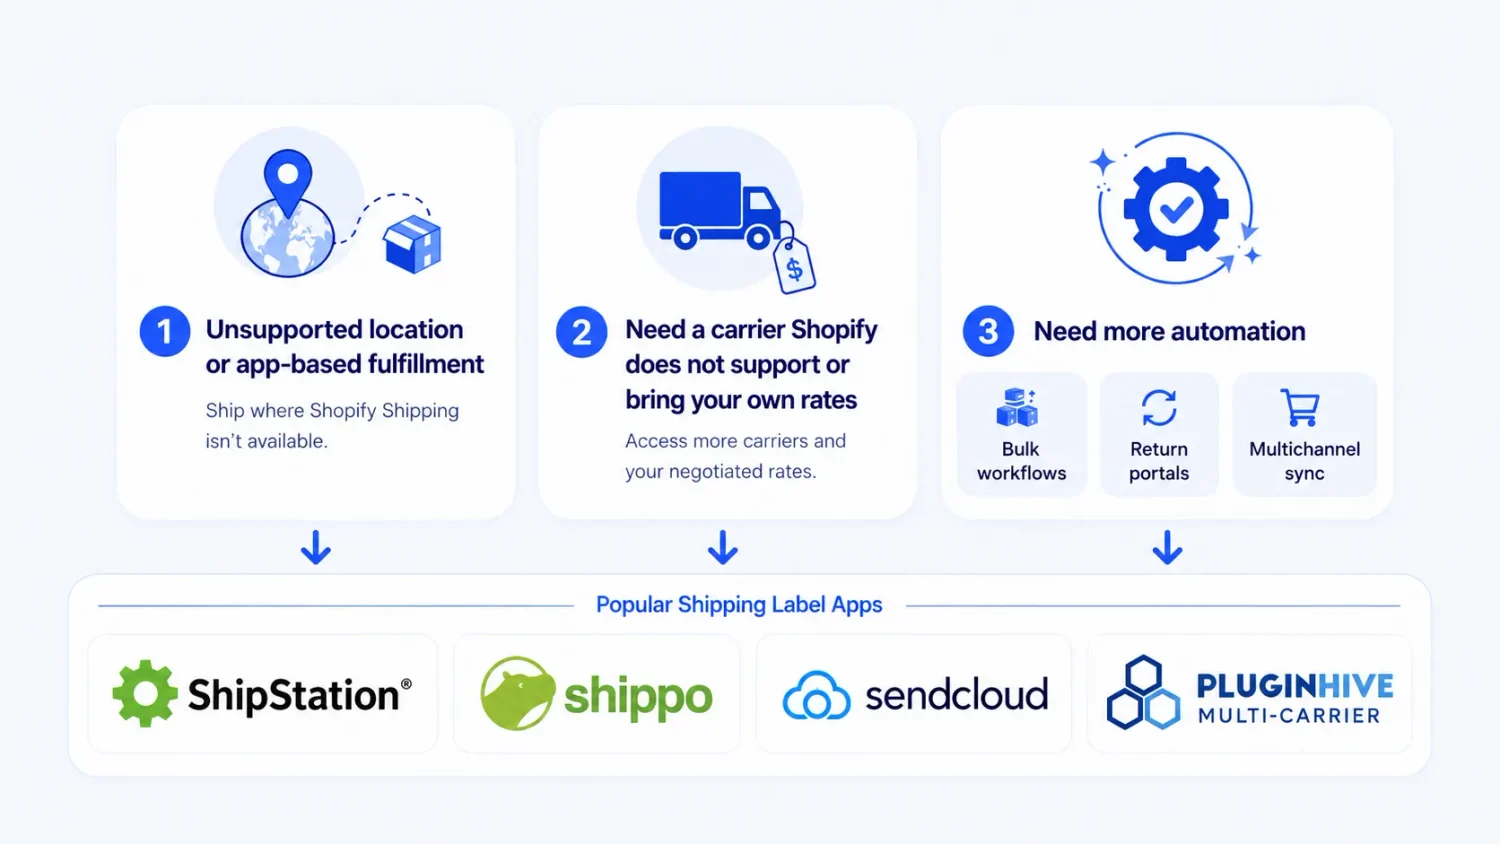
There are some popular options, including ShipStation, Shippo, Sendcloud, and PluginHive Multi-Carrier. Choose the one that solves your specific shipping gap, rather than the one with the longest feature list.
You pay to ship every order, so one of the smartest ways to improve your shipping economics is to increase the value of the order you are already sending, rather than simply chasing cheaper labels that may come with slower delivery or service trade-offs.
A free-shipping threshold can turn that goal into a reason for shoppers to spend more. Shipping cost is a major checkout barrier, with 40% of US online shoppers reporting that they have abandoned a cart because of shipping fees. Set the threshold 20-30% higher than your usual store AOV, and shoppers have a clear incentive to add more.
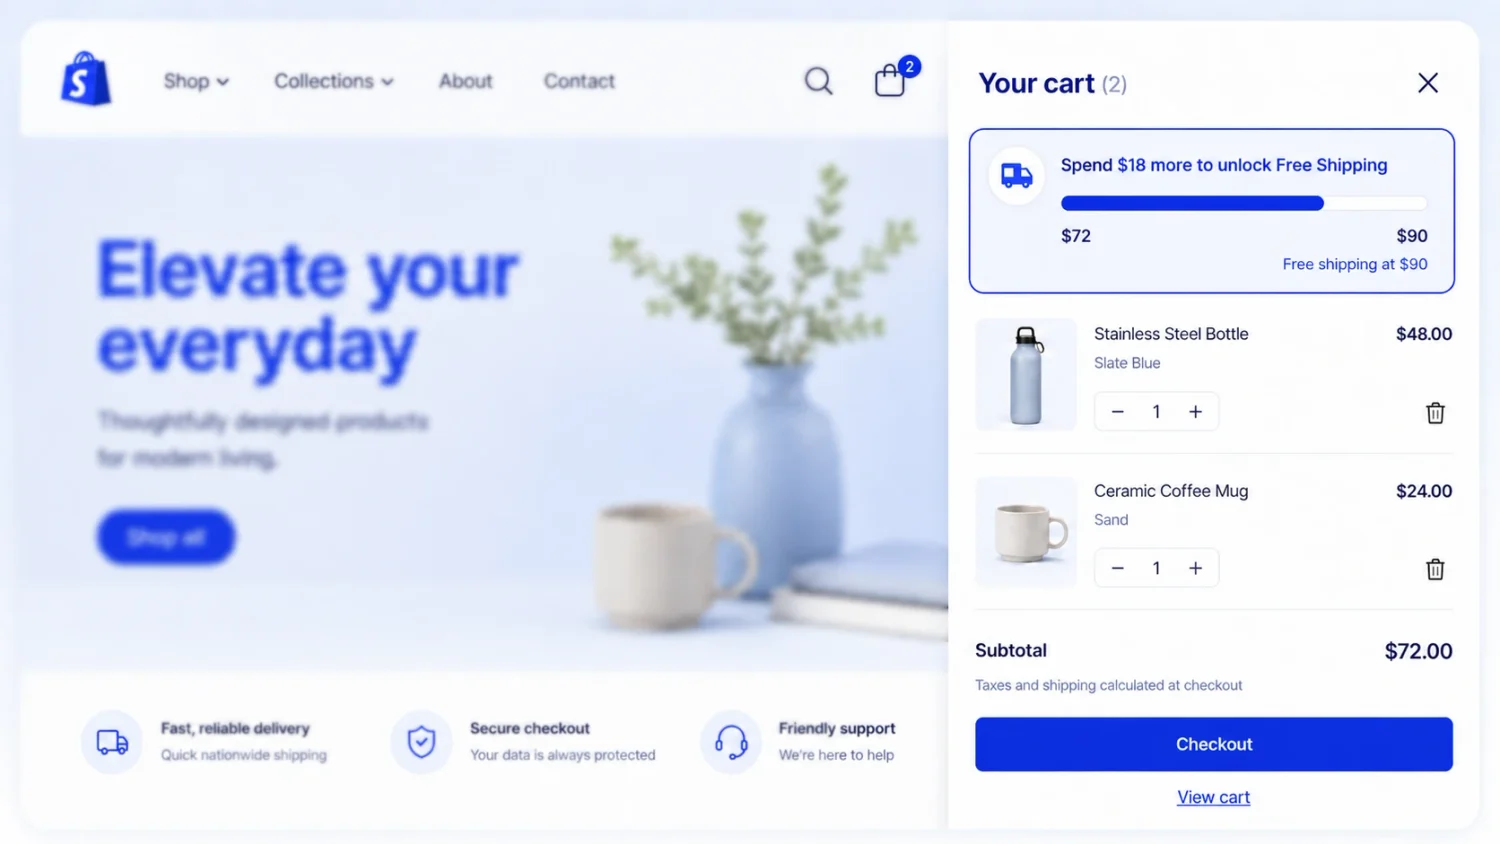
With BOGOS: Free Gift Bundle Upsell, you can set free shipping as a gift once shoppers reach a specific spending threshold. The offer can run storewide or target specific products, collections, or vendors. The BOGOS app can also display that goal through a live cart drawer Progress Bar or Announcement Bar, showing shoppers how much they need to spend to unlock the gift visually. Instead of simply absorbing the shipping cost, you utilize this shipping strategy to nudge a larger order and then make every label you buy worth more.
Shipping labels feel intimidating for about one order, and then they become muscle memory. Buy inside the admin, weigh the parcel honestly, print on 4×6 thermal, and lean on bulk actions the moment you are shipping more than a handful a day. That is the difference between fulfillment that drains your evening and fulfillment that takes ten minutes.
Get the workflow tight first. Then make shipping work in your favor, so the box you send out also brings the next order back.
No. Shopify labels attach to an order. If you have no carrier account, use Shopify’s free shipping label template generator instead, which prints a label without carrier tracking.
You can buy up to 250 labels at a time and print up to 100 at a time from the Shipping labels page.
Void it from Orders → Shipping labels within 30 days of purchase, before it has any tracking events. USPS holds unused-label refunds for about 14 days before processing.

Shoppers hesitate to buy a $1,200 sofa or a custom ring when they can’t see the exact version they’re...
Selling personalized products on Shopify gets hard the moment a shopper needs to type a name or choose a...

The UK is the largest eCommerce market in Europe and the third-largest in the world. For international Shopify stores,...