Charlie Ngo
•
Last updated: 24 July, 2026
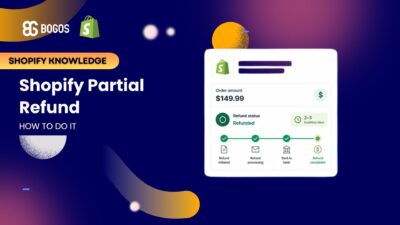
How to Issue a Shopify Partial Refund?
Returns and refunds have a bigger impact on Shopify revenue than many merchants realize. Shoppers are expected to return...
Shopify Image Optimization: SEO & Conversion Trends
Marketing Manager
Summarize this post with AI
Images make a Shopify store feel fast or slow. They are usually the largest files on the page, and the one Google times for ranking is almost always your product or hero image. So getting them right is one of the simplest wins for page speed and SEO. This guide covers what Shopify handles for you, the tactics that still need your hand, and the tools that make it faster. I am Charlie – BOGOS’s Chief Marketing Manager, and I work with Shopify merchants on store performance at BOGOS. The short version: when you optimize images for speed and search, you are really optimizing for the sale at the end.
Image optimization means serving the smallest file that still looks sharp. You do it by choosing the right format, the right dimensions, and the right level of compression.
That sounds minor. It is not.
Images are the single largest resource type on the web. They make up about 36% to 37% of total page weight, according to the HTTP Archive 2025 Web Almanac. On a typical page, that is more bytes than your code, fonts, and scripts.
Heavy images slow the page. On a 4G mobile connection, every extra 100 KB of image data adds roughly 0.2 seconds to load, so a product page with several unoptimized photos can add 2 to 3 seconds. That delay costs you traffic and sales.
Speed and images also drive Core Web Vitals. Your Largest Contentful Paint (LCP) score measures how fast the biggest visible element renders, and for ecommerce that element is almost always a product or hero image. The target is under 2.5 seconds. Google uses Core Web Vitals as a ranking signal, so a slow hero image can quietly hold back your whole page.
The payoff is real money. A 0.1-second improvement in load time is linked to an 8.4% increase in ecommerce conversions. Move the other way and shoppers leave fast: if a site takes more than 4 seconds to load, 63% of shoppers bounce.
That is the case for image optimization in one line: lighter images load faster, rank better, and help more visitors reach checkout. It is a core part of Shopify speed optimization; it lowers your bounce rate, and it feeds straight into conversion rate optimization.
Here is the part most guides bury. Shopify automates a lot of image work. If you redo it by hand, you waste time and can even make images worse.
This table shows the split. Spend your effort on the right column.
| Shopify handles automatically | Still your job |
|---|---|
| Compresses every image on upload | Set correct source dimensions |
| Serves images through a global CDN (cdn.shopify.com) | Control compression before upload when needed |
| Converts to WebP or AVIF for supported browsers | Write descriptive file names |
Generates responsive sizes with srcset | Add alt text to every meaningful image |
| Adds your main product image to the auto sitemap | Enable lazy loading on custom blocks |
| Cover app and lazy-loaded images in the sitemap | |
| Audit performance after big updates |
Shopify compresses images at a quality setting tuned for ecommerce and serves modern formats without any setup from you. So the honest answer to “do I need to optimize images on Shopify?” is yes, but only the half Shopify cannot do for you. That half is where this guide spends its time.
These are the tactics that matter, with the steps to do each one.
Match each image to the size it displays. Large images waste bytes and invite heavy compression. Small images blur when stretched or zoomed.
The ideal Shopify image size is 2048 x 2048 pixels for square product photos. Shopify accepts files up to 5000 x 5000 pixels and under 20 MB, but treat that as a ceiling, not a target. Use these sizes instead:
| Image type | Recommended size | File size target |
|---|---|---|
| Product image | 2048 x 2048 (1:1) | Under 300 KB |
| Hero / banner | 1920 x 1080 (16:9) | Under 300 KB |
| Collection thumbnail | 2048 x 2048 (1:1) | Under 200 KB |
| Blog image | 1200 x 800 | Under 500 KB |
Plan for sharp screens. Most phones now pack twice the pixels of an old display, so an image needs to be 2x its display size to stay crisp. If a slot shows the image at 600 pixels wide, upload it at 1200 pixels. That is why 2048 x 2048 works well for product photos, since it covers the zoom view too.
Keep one aspect ratio across all product photos. Pick square (1:1) or portrait (2:3) and stick to it. Mixed ratios create jagged grids and shift the layout as images load, which hurts your Core Web Vitals.
Need to resize an image already in your store? Use the built-in editor:
Compression cuts file size by removing data the eye does not miss. There are two kinds.
Shopify compresses on upload, but you do not control how hard it pushes. If your original is huge, Shopify may compress it aggressively and soften the details. Compressing yourself first gives you the final say.
Work in this order: resize the image to its display size, then compress. A smaller image needs less compression and keeps more quality. Free tools like TinyPNG and Squoosh do both in seconds. Export at medium quality, not maximum compression, so Shopify still has room to work. Keep a copy of the original so you can re-export later.
Watch one common trap. If you drop in a 3000-pixel image and shrink it with code or theme settings, the browser still downloads the full file. The page looks fine but loads slow. Shrink the file itself, not just how it displays.
Format controls both size and clarity. Match the format to the job:
You do not have to convert photos to WebP yourself. WebP files are about 25% to 35% smaller than JPEG, and AVIF is roughly 50% smaller at similar quality. Shopify serves both automatically to browsers that support them. Uploading WebP yourself only helps if you want manual control over the compression.
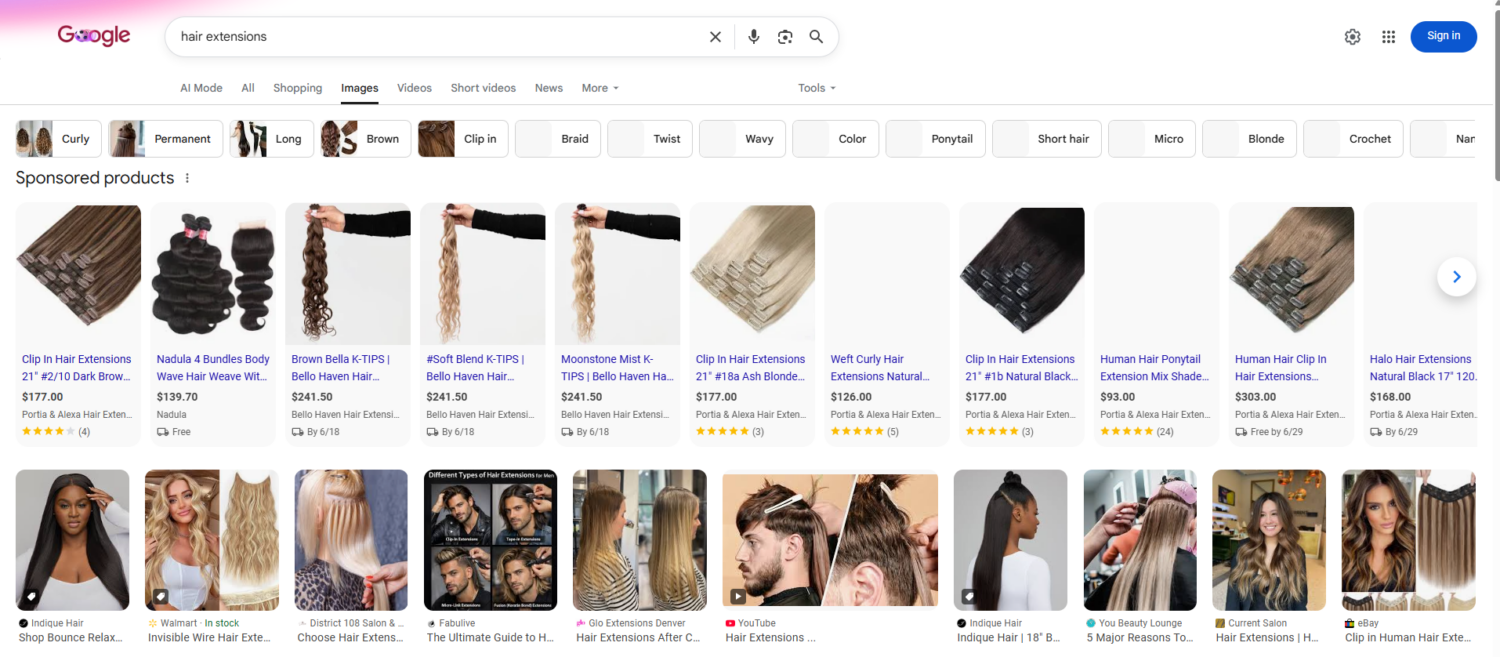
File names are part of the image URL, and search engines read them to understand the image and the page. A clear name helps you rank in Google Images, which is a free channel of high-intent traffic. A shopper who searches by image is often hunting for a specific look and ready to buy, so the click lands close to the sale. Visual-first stores gain the most: fashion, jewelry, furniture, home decor, beauty, and food, where the product photo is the reason people search.
Rename files before you upload, because Shopify keeps whatever name you give it. Follow one pattern:
So use black-leather-wallet.jpg, not IMG_1234.jpg. For a store full of generic names, a bulk-rename app fixes them without re-uploading every file.
Alt text is a short description of the image. Search engines read it to understand the picture, screen readers speak it to shoppers who cannot see it, and the browser shows it if the image fails to load.
Write what is in the frame, in plain words, and include the keyword once. Skip alt text on purely decorative images, since Google can flag over-optimization.
This is low effort and high return, since around 63% of websites still have missing or weak alt text. Add it in three steps: open Products, then Media, click the image, then Edit alt text and save. To handle a large catalog, an SEO app can apply alt text in bulk using templates and product data.
Lazy loading delays off-screen images until the shopper scrolls near them. The page loads less up front, so it feels faster and your Core Web Vitals improve. It helps most on long collection and blog pages, where many images sit below the fold.
loading="lazy" in the <img> tag.loading="lazy" by hand to custom Liquid blocks or app sections that miss it.Leave one image out: your hero or main product image. It is usually your Largest Contentful Paint element, so it should load right away, not lazily. Lazy-loading it slows the score you most want to protect.
A large share of your traffic shops on phones, and Google indexes mobile-first. Responsive images serve a small file to small screens and a large file to large ones.
Modern themes handle this with the srcset attribute, so they pick the right size for each device automatically. Choosing a current theme does most of the work. If you or your developer add images in theme code, use Shopify’s image_url filter so the right size is generated and served through the CDN.
A sitemap tells Google which images exist and where to find them. Shopify builds one automatically at yourstore.com/sitemap.xml, and it includes your main product images.
It can miss images added through apps, custom code, page builders, or lazy loading. Cover those in two steps:
This is worth the effort because Google Images drives roughly 22% of all web searches, a traffic source most stores ignore.
Blurry images usually come from two causes. Shopify strips the embedded color profile on upload, and the image is sized wrong for its slot.
Fix the color shift by exporting in the sRGB profile, using the “Save for Web” option in Photoshop or a similar tool. Fix the sharpness by sizing the image to fit its slot at 2x. A 600-pixel slot needs a 1200-pixel image to stay crisp on a retina screen. Avoid uploading a tiny image and letting the theme stretch it.
Even a clean store drifts. New banners and product photos slip in oversized, often during busy seasonal campaigns.
Run your key pages through Google PageSpeed Insights, Lighthouse, or GTmetrix. Read the report for oversized images, missing compression, and a slow LCP, then fix the files it flags. Start with your homepage, top sellers, and main collection pages, since those carry the most traffic and the biggest visuals. Re-run the audit after any theme change or image-heavy update.
If you have a large catalog, an app saves hours. These three handle compression and image SEO well, and all three score highly on the Shopify App Store. Ratings below are current at the time of writing and climb as more merchants review them.
| App | App Store rating | Best for |
|---|---|---|
| TinyIMG | 5.0 stars, 2,200+ reviews | All-in-one: bulk compression, WebP, alt text and file-name automation, SEO audits, lazy loading |
| Avada SEO Image Optimizer | 4.9 stars, 4,000+ reviews | Bulk compression plus structured data and a wider SEO toolkit |
| Crush: Speed & Image Optimizer | 4.8 stars, 470+ reviews | Adjustable compression with a 30-day restore on originals |
All three offer a free plan, so you can test on your store before you pay. Pick one and let it run on autopilot. For a small store with a few dozen images, manual compression and alt text are enough.
Image optimization is not only about speed and file size. It is also about which images you show. Leading Shopify stores now lean on richer, more interactive visuals to win the sale. These are the image strategies converting best right now.
Shoppers cannot hold the product, so they judge its size from your pictures. Baymard found that 42% of users try to work out a product’s size from the images, yet 37% of sites skip an “in scale” photo. Place the item next to a person or an object of known size, and the size doubt disappears. Skip it, and some shoppers leave rather than guess.
It matters most where size is hard to guess. In-scale images are a must for furniture, lamps, rugs, and wall art, since a piece that looks right online can arrive wrong for the room. Jewelry, watches, bags, and small electronics need them too, because a flat photo cannot tell a tiny pendant from a bold one. For worn items like clothing, show the product on a human model instead, which gives the same sense of size on the body.

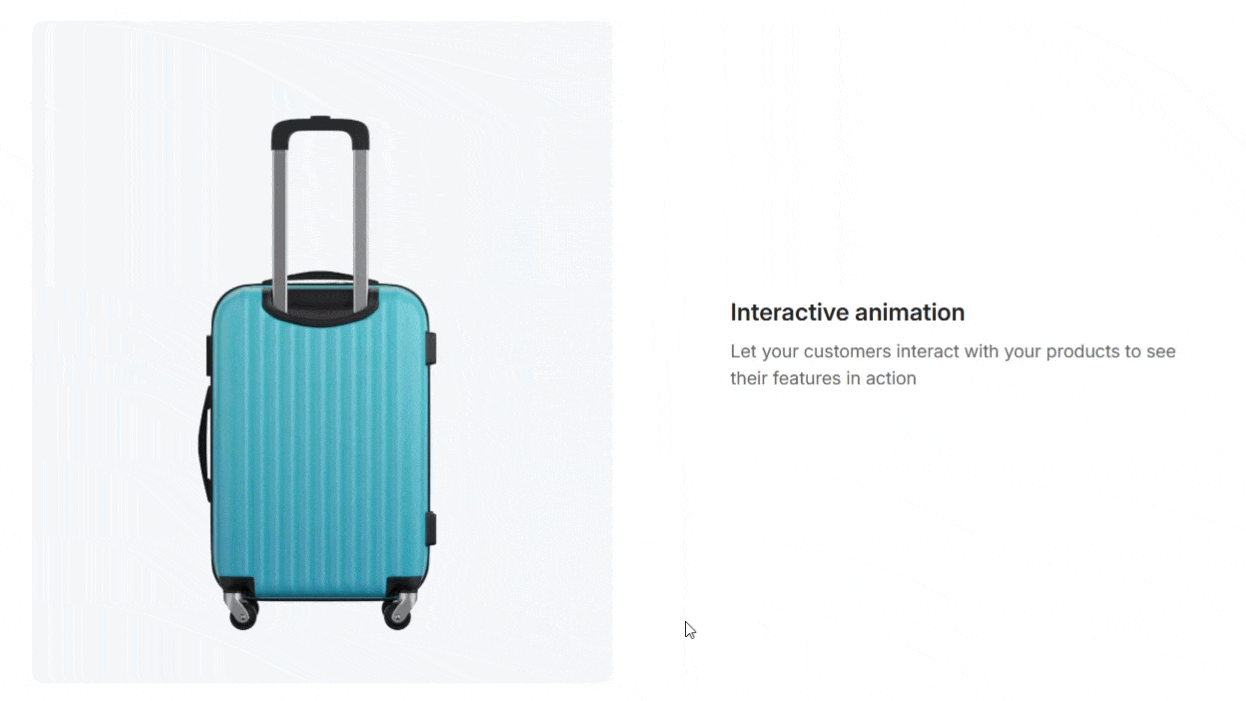
Go a step further with 3D and AR views. Shopify lets you upload 3D models so shoppers can rotate a product, zoom into the texture, and place it in their own room. This removes doubt before checkout, and the payoff is large. Shopify reports that merchants who add 3D content see a 94% conversion lift, on average. It works best for furniture, home decor, and other products where size and finish matter.
Your product photos do the selling. About 75% of online shoppers rely on product photos when deciding to buy, and roughly 22% of returns happen because the item did not look like its photo. So show multiple angles, allow zoom, and add real customer photos. Assign a variant image to each option too, so the photo switches to the right color or style the moment a shopper selects it. Clear images build trust and cut returns.
Speed, image SEO, and strong visuals all push shoppers toward checkout. But images are not the only lever, and image optimization alone will not max out your conversion rate.
Promotions are a direct lever for conversions and average order value. Free shipping thresholds, gift with purchase, and bundles all give shoppers a reason to act now and add more to the cart. This is where our app, BOGOS, comes in, letting you run free gifts and bundles without code. And the same rule applies to its visual elements, like gift thumbnails, sliders, and progress bars. Keep them clean and fast, just like your product photos.
Fast images plus the right offer is a strong pairing. For the wider playbook, see how it all connects in conversion rate optimization and boosting Shopify sales.
Product Video shows what a still cannot: the product in motion, in use, in real life. Shoppable videos go further by letting shoppers buy straight from the clip, and they can lift product-page conversion by 5% to 26%. User-generated content adds trust, since real customers feel more honest than studio shots. Websites that feature user-generated content see 29% higher conversions. Add short demo clips and customer videos to your product pages, then keep the files compressed so they speed up the sale, not the load time.
Images are your heaviest asset on Shopify and usually the element Google times for ranking. Let Shopify handle the automatic half, which is compression, CDN delivery, modern formats, and responsive sizes. Own the half it cannot, which is dimensions, file names, alt text, lazy loading, sitemaps, and audits.
Do that, and your pages load faster, rank higher, and convert better. Just remember the last step. Speed and image SEO move you toward the sale, but the offer closes it. Pair fast, sharp images with the right promotion, and you optimize the whole journey, not just the page weight.
Yes, partly. Shopify compresses every image on upload, serves it through a CDN, and converts it to WebP or AVIF for supported browsers. You still control dimensions, file names, alt text, and lazy loading, which Shopify cannot do for you.
Use 2048 x 2048 pixels in a square 1:1 ratio, kept under 300 KB. That size gives enough detail for zoom while staying light. Keep the same ratio across all product photos for a clean grid.
You do not need to. Shopify serves WebP and AVIF automatically to browsers that support them. Convert it yourself only if you want full manual control over the compression settings.

Returns and refunds have a bigger impact on Shopify revenue than many merchants realize. Shoppers are expected to return...
Choosing the right Shopify size chart app is one of the fastest ways to cut fit-related returns and help...
![[2026] Best Shopify Edit Order Apps (Tried & Tested)](https://bogos.io/wp-content/uploads/2026/07/5-Best-Shopify-Edit-Order-Apps-400x225.jpg)
Shopify lets you edit an order from the admin, but that is where the built-in tools stop. Your customers...