![[2026] Shopify Instant Checkout: ChatGPT, Shop Pay & Buy Now Button](https://bogos.io/wp-content/uploads/2026/07/Shopify-instant-checkout-400x225.jpg)
Charlie Ngo
•
Last updated: 8 July, 2026
[2026] Shopify Instant Checkout: ChatGPT, Shop Pay & Buy Now Button
Shopify instant checkout means three different things, and the most important one changed in 2026. It can mean buying...
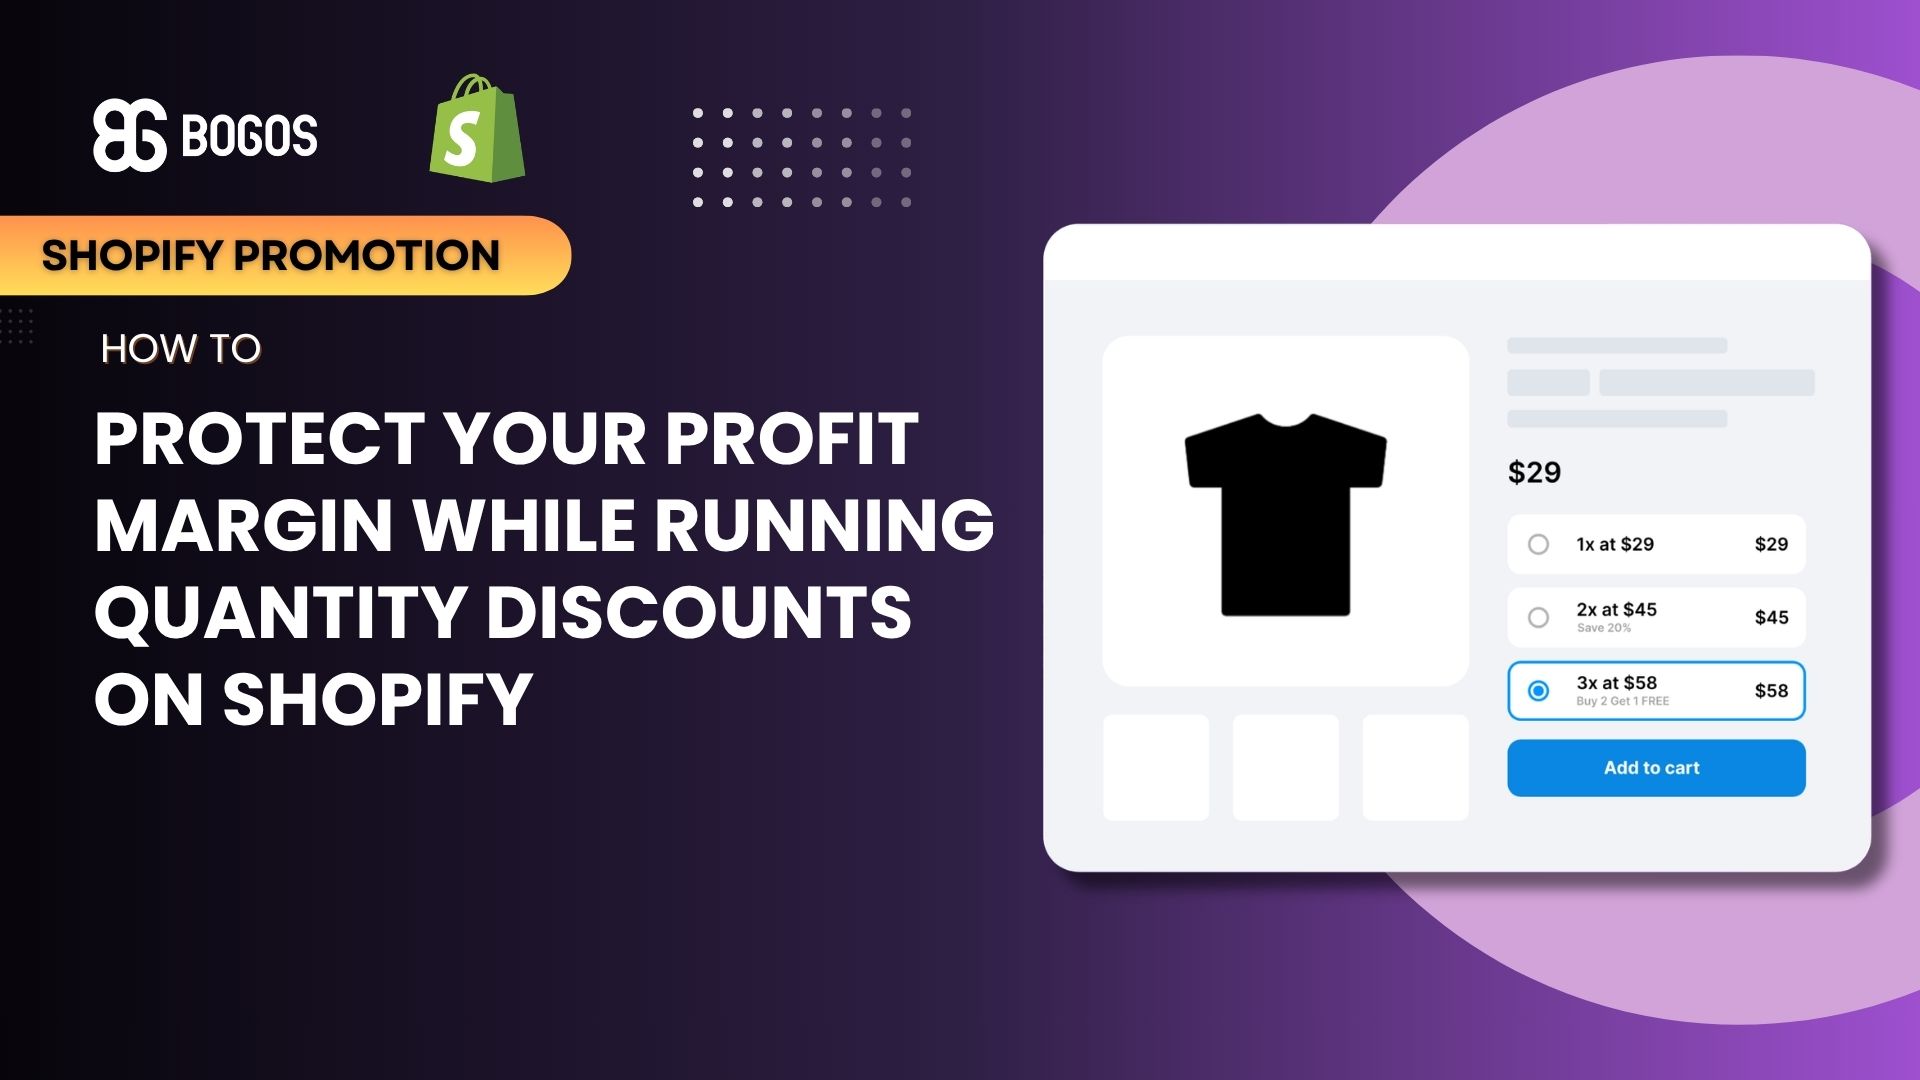
How to Protect Your Profit Margin While Running Quantity Discounts on Shopify
Digital Marketing Specialist
Summarize this post with AI
Quantity discounts are one of the most effective ways to increase units per order. Offer a better price at higher quantities, and customers buy more in a single transaction.
The problem is that many merchants set their discount tiers based on what feels like a reasonable percentage, not on what their margins can actually support. A 15% volume discount sounds modest until you factor in product cost, shipping, transaction fees, and packaging. At that point, the margin on each unit may be much thinner than expected.
This guide shows you how to structure quantity discounts that encourage bulk buying without quietly eroding your profit. You will learn how to calculate the true cost per unit, set discount tiers with a margin floor, choose the right products for volume offers, and monitor profitability after launch.
This article is for Shopify merchants who are already running (or planning to run) volume or tiered discounts and want to make sure every tier stays profitable. If you are new to Shopify and looking for a way to do Quantity / Volume Discounts on Shopify, read this detailed guide: How to Create Shopify Quantity Discounts in 2026
Quantity discounts increase order volume, but poorly structured tiers can cost you money on every sale. Before setting any discount, calculate your contribution margin per unit (selling price minus all variable costs, not just COGS). Set a margin floor, then work backward to find the maximum discount each tier can offer. Apply quantity discounts only to products with enough margin to absorb the discount. Use graduated tiers with small increments, consider fixed-amount discounts over percentages for easier margin control, and factor in fulfillment savings at higher quantities. Review margin performance within the first two weeks and adjust tiers based on actual data, not assumptions.
Each unit sold at a discount brings in less revenue, but most per-unit costs do not drop at the same rate. COGS (Cost of goods sold) stays the same whether the customer buys one unit or six. Packaging, pick-and-pack labor, and shipping costs remain largely fixed per unit. When revenue per unit drops but costs hold steady, profit per unit compresses faster than the discount percentage suggests.
This risk compounds when quantity discounts overlap with other active promotions. If a customer combines a volume discount with a site-wide sale or an automatic discount code, the total effective discount can exceed what any single offer was designed to give.
⚠️ Watch out: Shopify allows automatic discounts and discount codes to combine in certain configurations. If you run quantity discounts as automatic discounts alongside other active promotions, test the checkout to confirm the total discount does not exceed your margin floor.
Before setting any discount percentage, you need to know what each unit actually costs you to sell and deliver. Gross margin alone is not enough because it only accounts for the cost of goods. Every other cost that scales with each unit sold matters just as much.
Here are the cost components you need to account for:
The metric that matters here is contribution margin per unit. This is the amount of money left over after subtracting all variable costs from the selling price. It tells you how much profit each unit actually generates.
The formula is straightforward:
If this number is negative or close to zero at any discount tier, that tier loses money regardless of how many units you sell. Volume cannot fix a negative contribution margin.
Gross margin often creates a false sense of safety. A product with 65% gross margin might have only 35% contribution margin once you include fulfillment and fees. That 30-point gap is where many merchants get surprised when they start discounting.
Pull your COGS from your Shopify product records or supplier invoices. For fulfillment costs, check your shipping carrier rates and packaging costs per order. For transaction fees, Shopify Payments charges 2.9% + $0.30 on the Basic plan (rates vary by plan level). Add these up per unit, and you will have a much clearer picture of how much room you actually have to discount.
Once you know your contribution margin per unit, the next step is figuring out how many additional units each discount tier needs to generate in order to justify the margin loss. This is your break-even volume.
The core idea is simple. Every discount tier reduces your profit per unit. That lost profit per unit must be recovered by selling enough additional units that the total profit at the discounted tier equals or exceeds the total profit at the previous tier (or at full price).
Here is how to calculate it step by step:
Suppose you sell a skincare serum at $30. Here are the per-unit costs:
At full price ($30): Contribution margin = $30 – ($9.00 + $3.50 + $1.17 + $1.00) = $15.33 per unit
At 10% off ($27), for a “Buy 3+” tier: Transaction fee adjusts to (2.9% of $27) + $0.30 = $1.08 Contribution margin = $27 – ($9.00 + $3.50 + $1.08 + $1.00) = $12.42 per unit
Margin loss per unit: $15.33 – $12.42 = $2.91
If you currently sell an average of 100 units per month at full price, your total monthly contribution is $1,533. To match that same total profit at $12.42 per unit, you would need to sell at least 124 units. That means the 10% discount tier needs to generate at least 24 additional unit sales per month to break even.
At 20% off ($24), for a “Buy 6+” tier: Transaction fee adjusts to (2.9% of $24) + $0.30 = $1.00 Contribution margin = $24 – ($9.00 + $3.50 + $1.00 + $1.00) = $9.50 per unit
Margin loss per unit: $15.33 – $9.50 = $5.83
To match $1,533 in total contribution, you would need 162 units. That is 62 additional units, or a 62% increase in volume, just to stay at the same profit level.
This is why each tier deserves its own break-even analysis. A moderate first tier might easily justify itself, while a deep third tier may require unrealistic volume increases.
Start with a small discount at the first tier and increase gradually. This lets you test which tiers customers actually reach before committing to deeper cuts.
A common structure for a $40 product might look like this: 5% off when buying 2 units, 10% off at 4 units, and 15% off at 6 units. Three tiers are usually enough. For most non-consumable Shopify products, customers rarely purchase beyond the third quantity threshold.
Keeping increments small (5 percentage points between tiers) limits your maximum exposure. If the deepest tier turns out to be unprofitable, you can remove it without disrupting the entire offer.
BOGOS lets you configure multi-tier quantity discounts with specific quantity thresholds on your Shopify store, so you can set up graduated structures like this and adjust individual tiers based on performance data.
💡 Tip: Start with just two tiers for the first 2–4 weeks. Review the data, then add a third tier only if customers consistently reach the second threshold and your margins remain healthy.
Not every product in your catalog should be eligible for quantity discounts. The safest approach is to limit volume offers to products with enough contribution margin to absorb the discount and still generate meaningful profit per unit.
As a practical filter, products with a contribution margin below 40% are risky candidates for any quantity discount above 10%. If the margin is below 30%, even a 5% discount may compress profit to the point where the tier is not worth offering.
Before building your quantity discount, sort your product catalog by contribution margin. Pick the products in the top tier of profitability and start there. This protects your overall blended margin even if a few discounted orders come in at thinner profits.
Percentage discounts scale with the product price, which makes the margin impact harder to predict, especially if you have products with a wide price range or multiple variants at different price points.
Fixed-amount discounts (“$5 off each when you buy 3+”) give you exact control over how much margin you give up per unit. You know the cost of the discount before a single order comes in.
This approach works especially well for stores where products range from $15 to $80. A flat 10% discount means very different things at each price point. A flat $4 discount means the same margin loss per unit regardless of which product the customer picks.
Fixed-amount discounts also tend to feel more tangible to customers. “$5 off each” registers faster than “10% off” for many shoppers, which can improve conversion without increasing your margin exposure.
Instead of starting with a discount percentage that sounds attractive, start with the minimum contribution margin per unit you are willing to accept. This is your margin floor.
Once you set that floor, work backward to find the maximum discount each tier can offer. The math is simple: take the difference between your full-price contribution margin and your margin floor. That gap is the maximum amount you can discount per unit.
For example, if your full-price contribution margin is $14 per unit and your margin floor is $8, your maximum discount per unit is $6. On a $40 product, that caps your discount at 15%.
This approach prevents the common mistake of setting a discount that “feels right” and discovering weeks later that it was too aggressive. The margin floor acts as a guardrail that keeps every tier profitable by design.
💡 Tip: Set your margin floor slightly above your true breakeven point. A $1–2 buffer accounts for unexpected cost increases, like a shipping rate change or a rise in packaging costs, without forcing you to immediately restructure your discount tiers.
Larger quantity orders often cost less per unit to fulfill. One shipment with six units uses less total packaging than six individual shipments. Pick-and-pack time per unit decreases when items ship together. Some carriers offer lower per-unit rates at higher package weights.
Calculate the fulfillment savings per unit at each quantity tier and factor those savings into your contribution margin calculation. This effectively widens the “safe discount range” without requiring you to reduce the sticker price further.
For example, if shipping one unit costs $4.50 but shipping four units in a single package costs $8.00 total, the per-unit shipping cost drops from $4.50 to $2.00. That $2.50 per-unit savings offsets a portion of your discount.
This strategy works best for merchants who handle fulfillment in-house or use a 3PL with per-unit or per-package pricing. If your shipping costs are flat-rate regardless of quantity, the offset will be smaller, but packaging savings may still apply.
Some products carry structural characteristics that make quantity discounts risky regardless of how carefully you set the tiers.
Checklist: Before adding a product to your quantity discount offer, confirm that:
Setting your discount tiers correctly at the start is important, but the work does not end at launch. Costs change, customer behavior shifts, and what looked profitable in a spreadsheet may perform differently in practice. Regular margin reviews keep your quantity discounts on track.
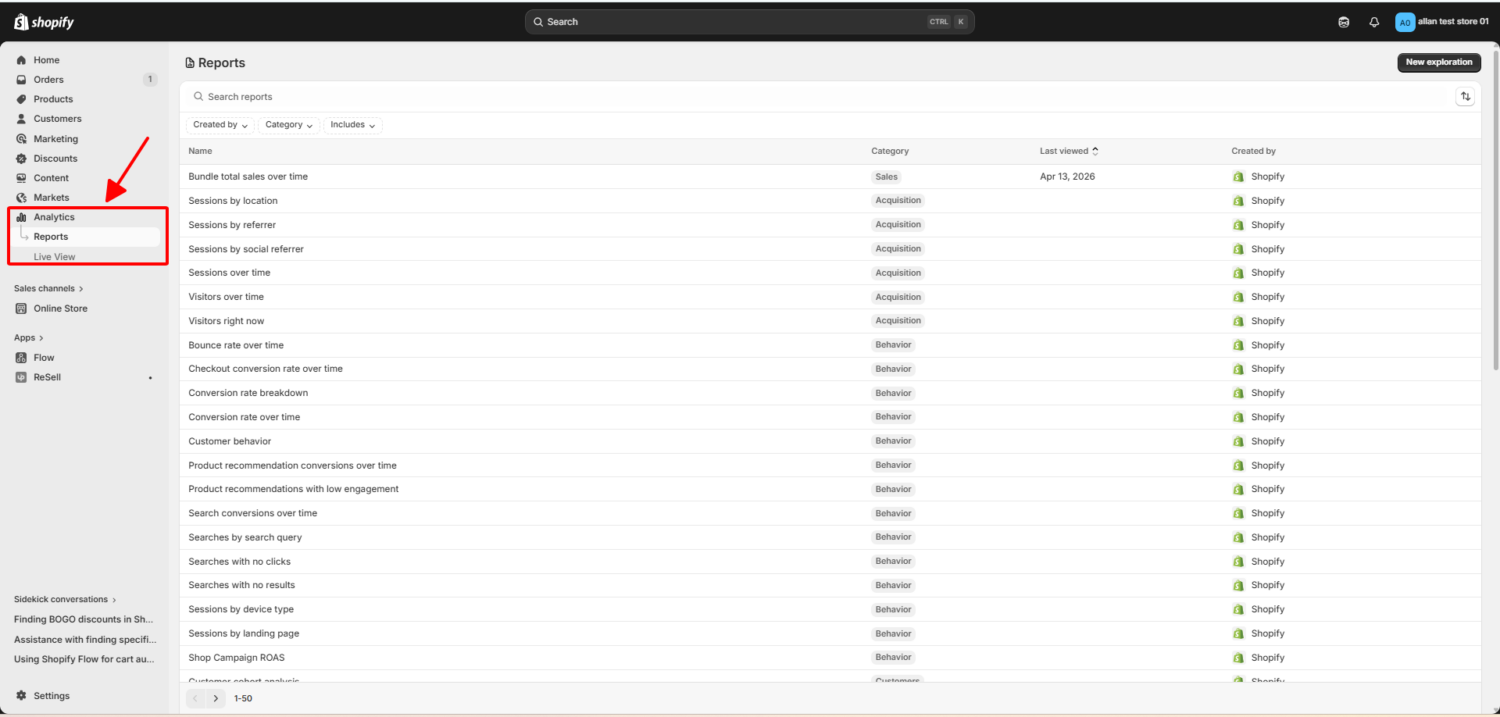
Shopify Admin provides sales reports you can filter by discount type. Use the product-level reports to see units sold per product during the discount period. For order-level detail, export your orders as a CSV from Shopify Admin and calculate contribution margin per order in a spreadsheet by subtracting COGS and estimated variable costs from order revenue.
If your quantity discounts run through automatic discounts, Shopify’s discount performance report shows how many times each discount was applied and the total discount amount given.
Look for these warning signs that a tier needs restructuring:
Review performance within the first two weeks of launch to catch major issues early. After that, a monthly review is usually sufficient unless you are running a high-volume store where even small margin shifts matter at scale.
Quantity discounts work when they are built on margin data rather than assumptions about what percentage sounds attractive. The merchants who profit from volume offers are the ones who calculate first and discount second.
The workflow comes down to five steps: know your true cost per unit, calculate the break-even volume for each tier, structure tiers with a margin floor as a guardrail, select only products with enough margin to absorb the discount, and monitor contribution margin after launch to catch problems early.
Before you set or revise any quantity discount tier, run the contribution margin calculation on your top five best-selling products. That one exercise will tell you exactly how much discount room you have, which products can handle it, and where the line is between driving volume and giving away profit.
Start with two tiers, review the numbers within two weeks, and add depth only when the data supports it. Volume is valuable, but not at the expense of the margin that keeps your business running.

Shopify instant checkout means three different things, and the most important one changed in 2026. It can mean buying...

Every click to your product page is a chance to make a sale or lose a customer. A product...

ChatGPT started as a place to draft product copy. Now it does much more. Shopify has turned it into...