6 Best Shopify Page Builders With AI Features
With the right Shopify page builder, merchants can redesign their store theme themselves without needing extensive coding knowledge. Store...
Digital Marketing Specialist
Shopify discount pop-up is one of the most popular and effective widgets for online store owners. Among powerful tools like banners, countdown timers, auto menu, etc., a pop-up can easily capture customer attention and entice them to make a purchase.
So, how can a Shopify merchant create a discount pop-up? The best solution is to use Shopify native discount to create a code and customize a pop-up for that code with third-party software.
This article will help you with this process to run attractive, sales-triggering pop-ups.
Merchants need to generate a Shopify discount code using Shopify native discount first. Then, you create a pop-up to show that offer to qualified customers.
The buyer will save that discount and apply it at checkout for later use.
The first step to creating Shopify discount pop-ups is selecting an effective third-party app since Shopify’s internal settings do not support creating this type of widget.
Here are some tips for choosing a Shopify pop-up app that aligns with your promotional goals:
The app should integrate seamlessly with Shopify for a smooth workflow. It should also integrate with other tools in your store, such as CRM systems, analytics tools, or email marketing services.
A functional app should support diverse types of pop-ups, including:
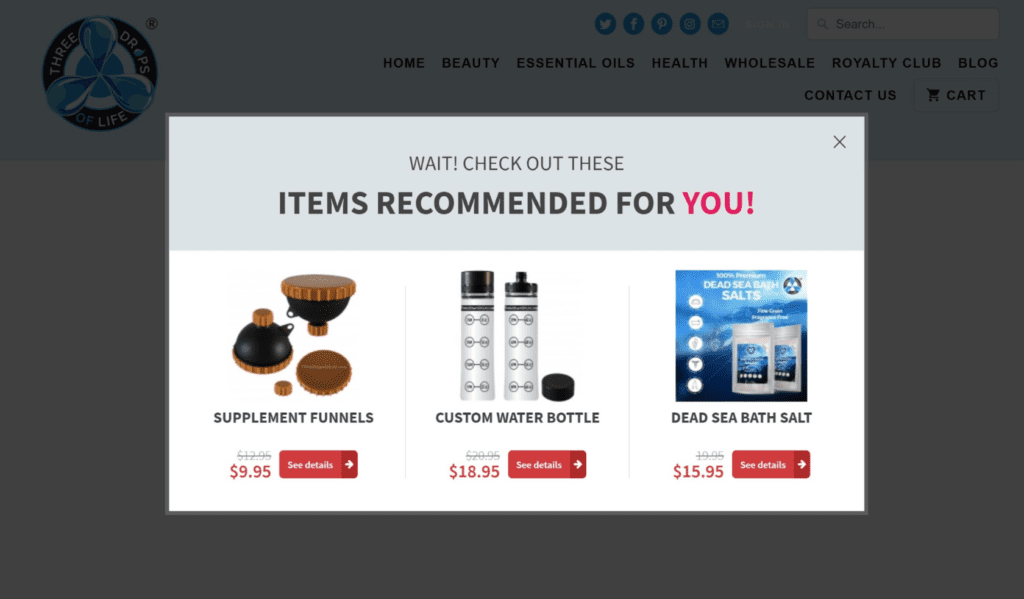
Look for Shopify apps with easy-to-use templates and other customization features (fonts, images, colors) that align with your store branding.
Shopify discount pop-ups should be highly personalized based on customer segments. Several key criteria, such as new vs. returning buyers, location, referral source, etc., help you deliver customized messages to each group.
This step guides you in creating a discount code to be promoted on your pop-up.
Step 1: Visit your Shopify admin dashboard > Click Discounts and choose 1 out of 4 discount types.
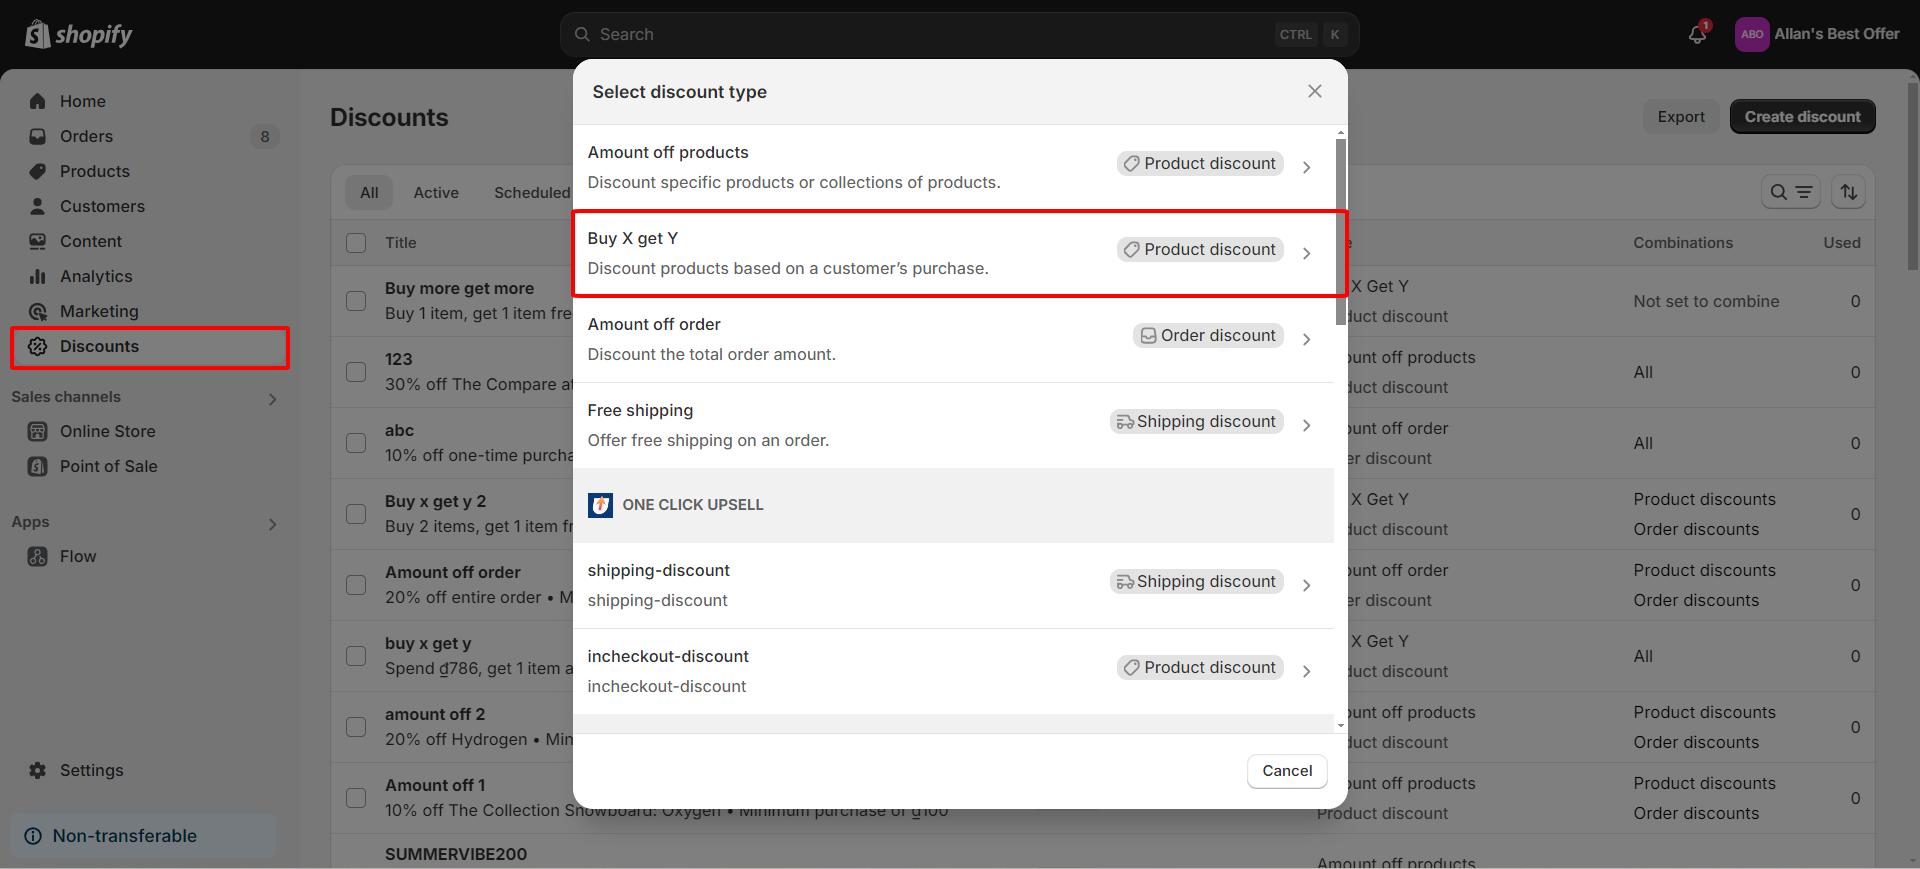
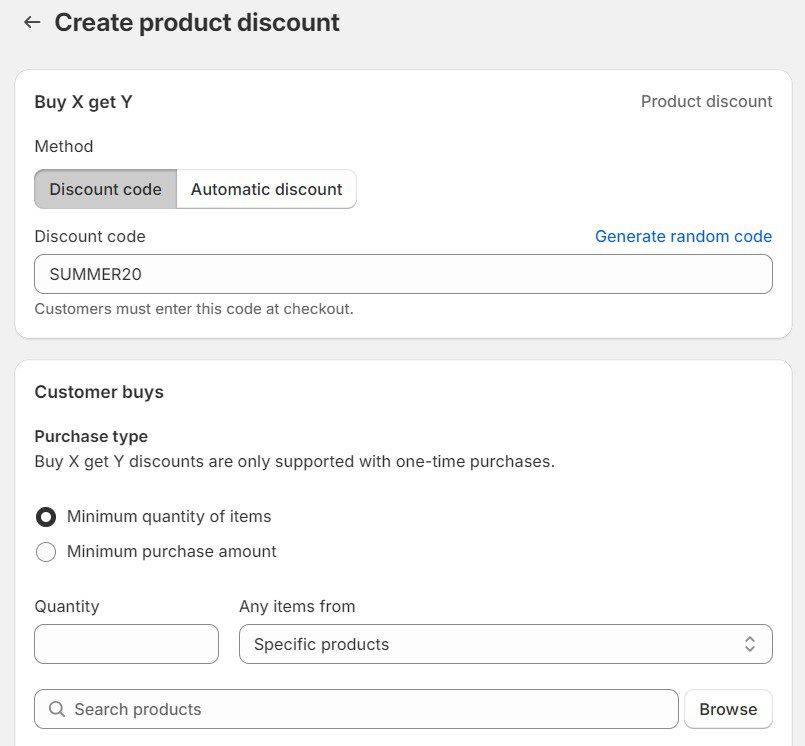
Step 2: Select the Discount code method and customize the code for customers to use at checkout.
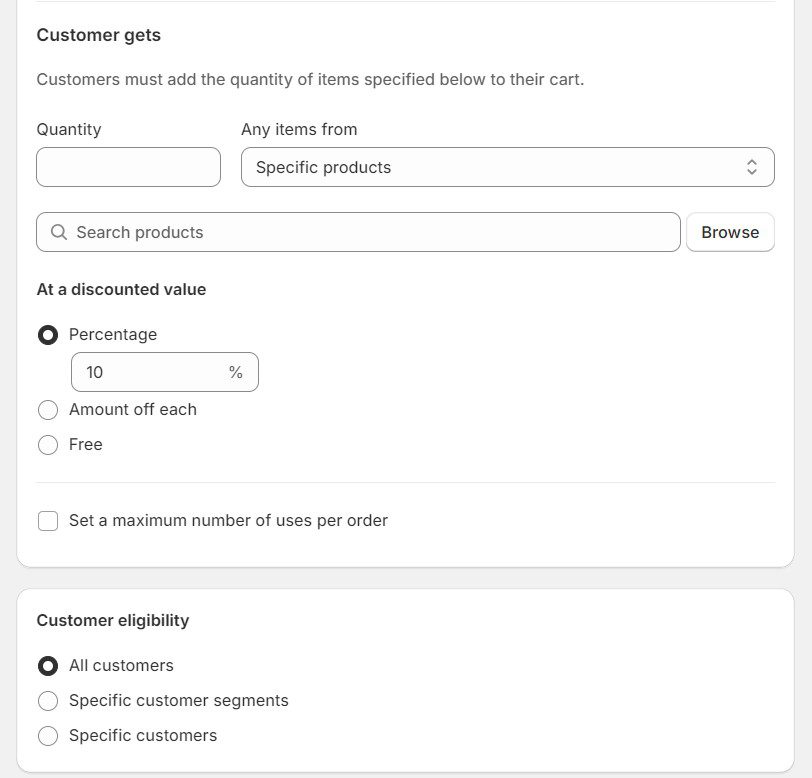
Regarding Customer buys, choose between a minimum quantity of items (a specific number) or minimum purchase amount (monetary value) as the threshold.
Step 3: When configuring Customer gets, select the quantity of products they can receive for free or at a discounted price. To prevent code abuse, set the maximum number of uses per order.
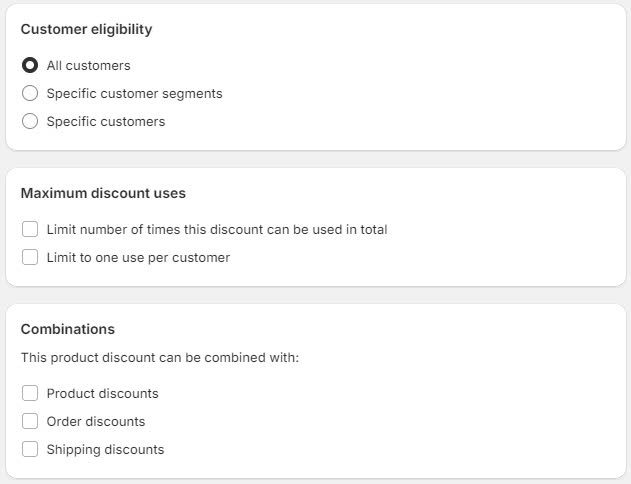
Decide which type of customers is eligible to use the code, including all customers, specific customer segments, and specific customers.
Step 4: In terms of Maximum discount uses, you can limit the number of times this discount is used in total or limit it to one use per customer.
Your Buy X, get Y discount code is also combinable with other active discounts in your store, such as product, order, and shipping discounts.
Lastly, set up the active dates, including the start and end times, to activate the discount or pre-schedule it.
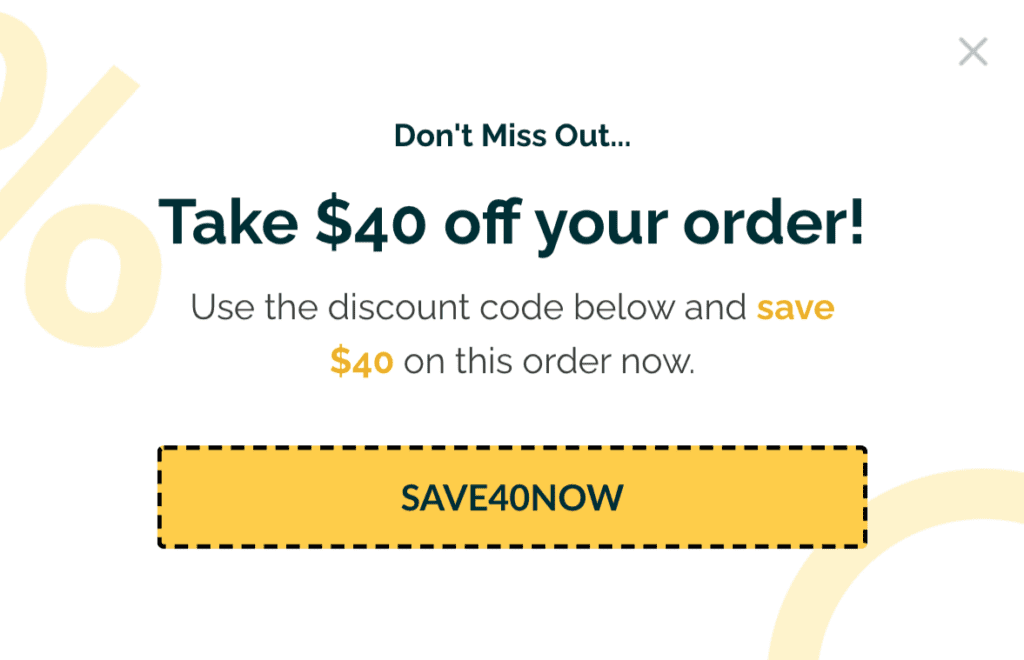
Store owners should know about these 3 common types of pop-ups to apply them smartly in different cases.
A popular Shopify discount pop-up that most online shops offer is the free welcome coupon. This pop-up is often used to attract new buyers with a discount on their first purchase.
It usually appears right after the customer lands on the homepage. To prevent discount code abuse, you can customize it for a one-time application per customer.
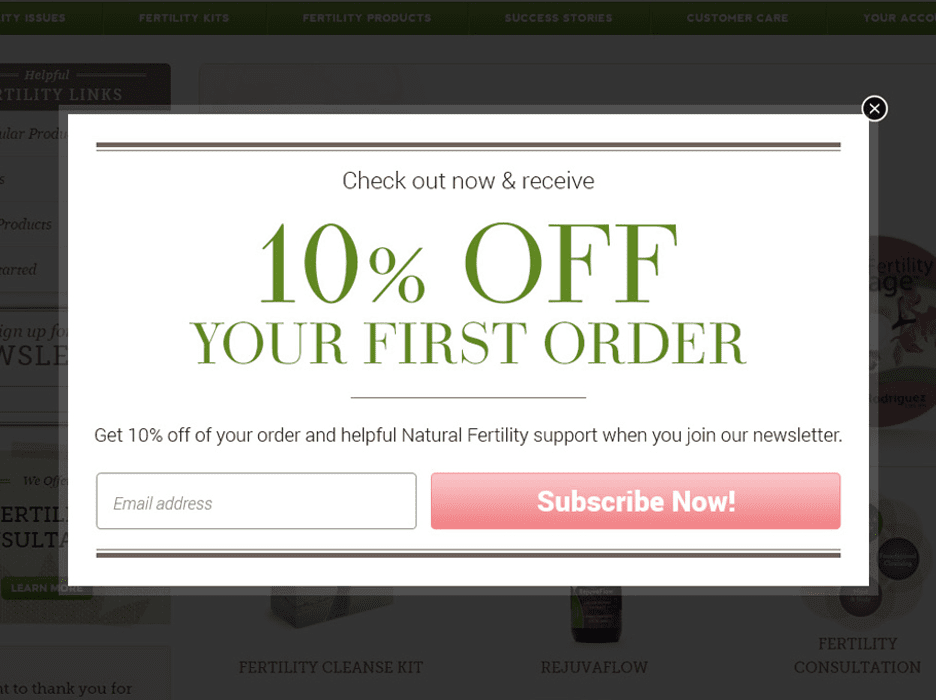
On the other hand, this discount requires shoppers to take the desired action to claim it. For example, customers need to provide their email addresses to receive the code via email.
This pop-up should appear when the customer has been browsing your site for a short while. If they are interested in purchasing, they will take action to get the discount.
Limited-time offer pop-ups are designed to create urgency and push visitors to act before a deal expires. These pop-ups often include timers or countdown elements to highlight time-sensitive discounts.
Using countdown website templates allows merchants to visually reinforce urgency by showing how much time is left before an offer ends. This approach works especially well for flash sales, seasonal promotions, and exit-intent discounts, helping increase conversions by encouraging faster decision-making.
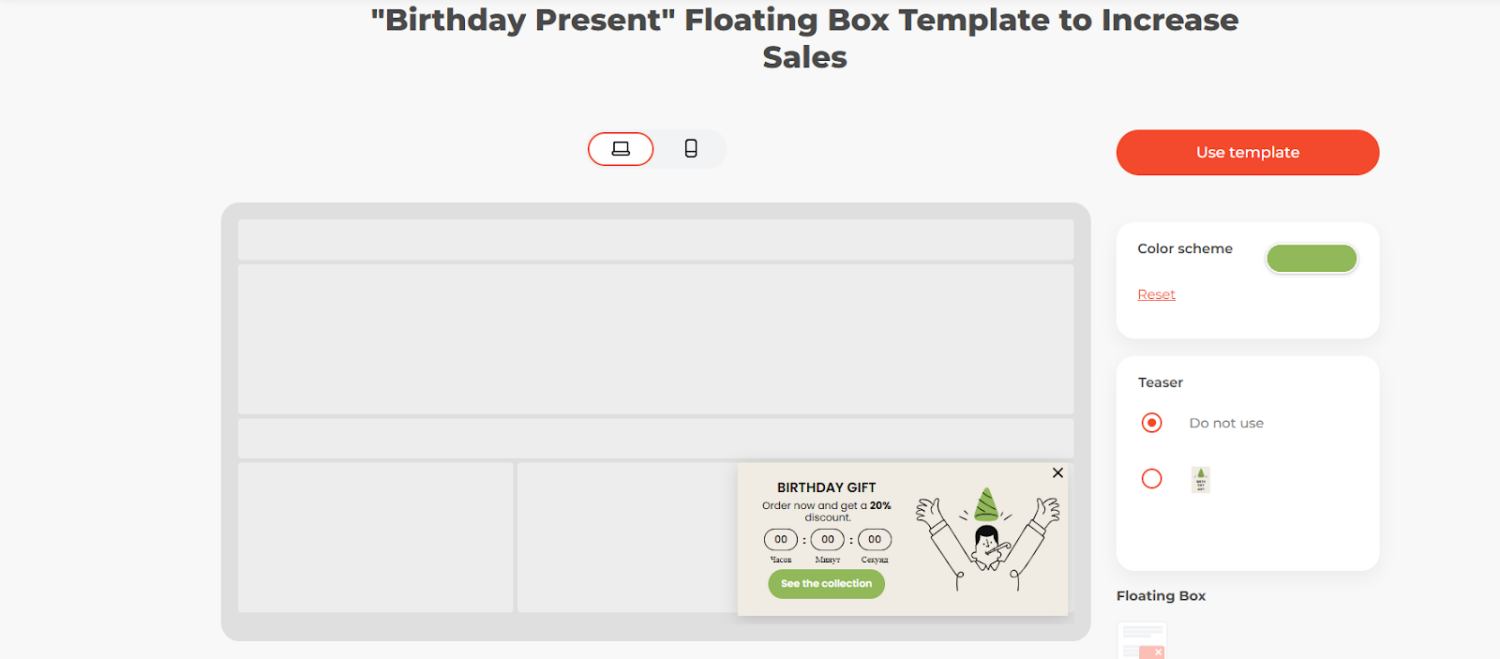
The key to an attractive Shopify discount pop-up is to grab attention and convert visitors into buyers without being intrusive. Check out our advice to create pop-ups that drive sales and engagement effectively:
Keep the pop-up visually clean and minimal since it might sometimes be seen as a disruption. Use large fonts with minimal text and a strong CTA (call-to-action), meaning you should only highlight important information.
The pop-up will have more appeal with high-quality images, especially if they are relevant to the discounted products.
The discount or promotion should be clearly stated in your pop-up, such as “Get 15% off your first order.” Your offer ought to be something valuable that immediately catches their interest, whether it is a discount, limited-time, or free shipping.
Certain phrases like “Today only” or “Limited time offer” are especially triggering to encourage quick decisions.
The CTA must be clear and bold to intrigue buyers to take action. Try direct phrases like “Get my offer” or “Claim your discount” in a large button that stands out.
Place the CTA button in a prominent location within your pop-up so customers can act quickly without scrolling or thinking too much.
One of the most crucial factors for the Shopify discount pop-up is when to trigger it for the best result. Here are some of our best tips:
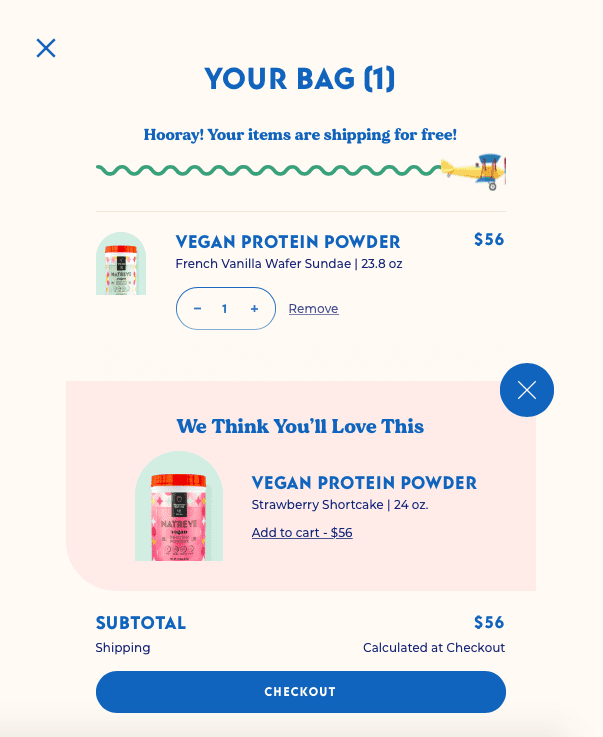
Make sure the pop-up does not disrupt customer experience or block their view.
Full-screen pop-ups can sometimes be overwhelming and disturbing, so apply this variation wisely. Therefore, consider using slide-ins or smaller windows for less intrusiveness.
Also, it is crucial to add an exit button (“X” or “Close”) to the pop-up. This helps prevent customer frustration from being trapped and improves their satisfaction.
Read more: An Ultimate Guide on How to Increase Sales on Shopify?
Regarding the importance of timing for the Shopify pop-up, you should take into account these activation key points:
Give your visitors a specific amount of time on the site before triggering a pop-up, for example, 30 to 60 seconds. This can prompt discounts to those exploring the store but have not yet taken action.
Let the Shopify discount pop-up appear when customers have scrolled a certain percentage of the home page. It indicates that they are engaging with your content, making it a good opportunity to offer a discount.
A way to detect when potential buyers are about to leave your site is to move the cursor to the browser’s close button. At this moment, a pop-up will help recover abandoned visitors and compel them to stay for a purchase.
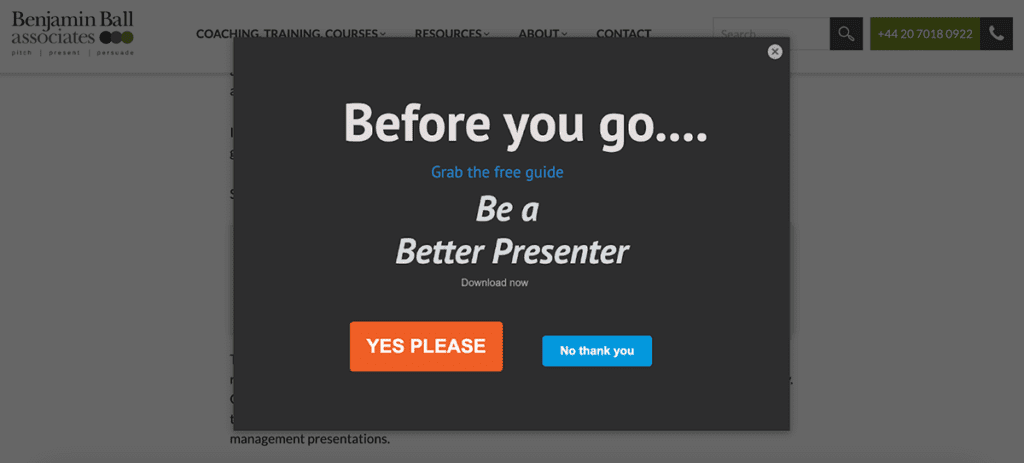
In some cases, a Shopify discount pop-up should appear after customers add products to their carts but have not proceeded to checkout. This incentive can motivate them to finalize the order.
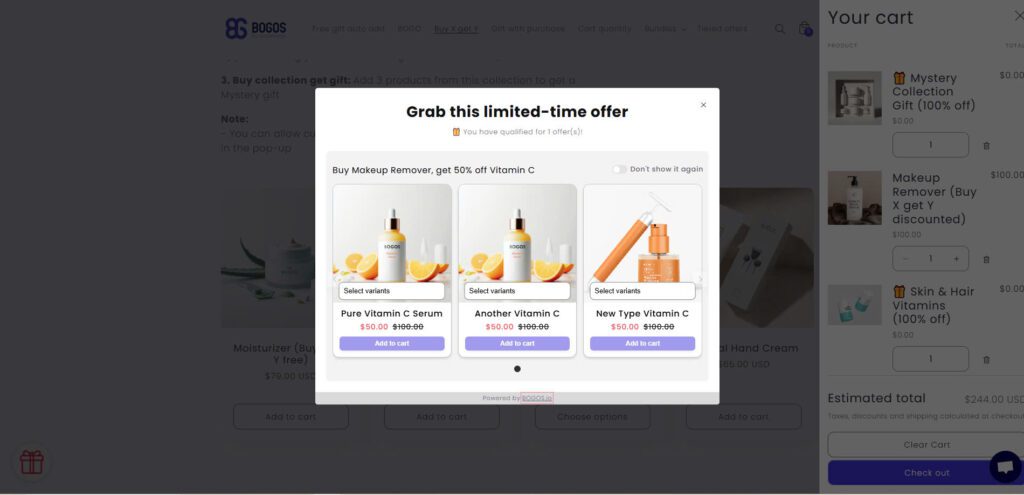
However, current pop-up apps on the market have yet to support this feature. That is why you need promotion-focused software to trigger pop-ups after customers add assigned products to their carts.
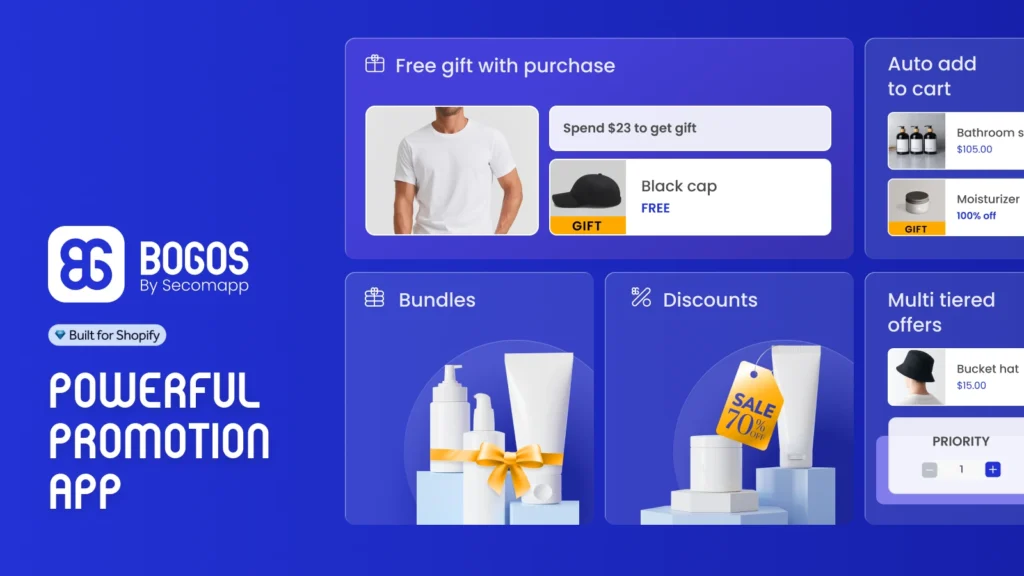
We recommend BOGOS, a high-performance Shopify app for creating and managing advanced Shopify discounts and free gift offers. The app has an internal gift slider tool that acts like a pop-up, showcasing free gifts when certain items are in the shopping cart.
For example, if your customer purchases 2 bathroom sets, the system identifies them as trigger products, and a pop-up (gift slider) will appear to show 2 free moisturizers. Thanks to this feature, buyers are notified of incentives and automatically receive them.
Read more: How to create discounts for abandoned cart users?
Despite the diverse advantages of Shopify discount pop up, they have certain downsides that also relate to discount codes. The possible disadvantages of combining a discount code and pop up include:
Since buyers are required to remember the code for later use, there are potential risks of mistyping (e.g., enter SUMMER only instead of SUMMER10).
If they are unable to take advantage of the discount, it will lead to frustration and reduce customer engagement with your store.
Moreover, many shoppers have the habit of closing pop ups as soon as they appear. That way, they will likely miss out on the displayed discount code.
In some cases, you may fail to set up the pop up activation appropriately. This may cause the widget to show up constantly, making it a nuisance for visitors.
When they are not happy with the initial browsing experience, you will lose.
Store owners can only promote one discount code per Shopify discount pop up at a time. We do not recommend displaying more than one code on the pop up since it confuses customers.
Plus, there is a possibility that buyers will overuse your discount codes if they are not configured properly. That is why you should utilize automatic discounts with a robust third-party app.
BOGOS can be a reliable assistant in helping you create, track, and manage enticing promotions and discount offers, such as buy X get Y, free gifts, product bundles, etc. Its high level of automation and customization is effective in increasing sales revenue.
That is our instruction on how to create pop up discounts on Shopify and personalize them to support promotional campaigns. Undoubtedly, this widget is effective in promoting active discount codes to potential buyers and compelling them to purchase.
In addition to knowing how to create a functional Shopify discount pop up, you should focus on the right timing to trigger it. Segmenting your customers into specific groups is also crucial in determining their interests and needs for different promotion offers.
However, if discount pop ups are rather disadvantageous, try using automatic discounts instead. Configuring an automatic deal with a third-party app like BOGOS can be a game-changer.
Store owners can incorporate the following popular discount types into a pop-up on their websites:
– Percentage off product/order (e.g., 15% off your first order)
– Buy one, get one (BOGO)
– Free shipping
– Dollar amount discounts (e.g., $15 off purchases over $60)
To tailor a discount pop-up to suit your promotional needs:
– Use dynamic content, for example, addressing the visitor by name when they log in with an account.
– Customize offers based on user behavior (e.g., displaying a discount on items they have viewed).
– Segment the audience to show different pop-ups according to cart value, location, or past orders.
Yes, a lot of third-party apps enable you to create mobile-friendly pop-ups and optimize them for both desktop and mobile visitors. You can select to display different pop-ups or offer diverse discounts based on the device used.
Yes, most pop-up external apps allow you to target specific groups of customers, such as:
– Returning buyers
– New customers
– Customers based in different geographic locations
– Visitors with in-cart items over a certain value


With the right Shopify page builder, merchants can redesign their store theme themselves without needing extensive coding knowledge. Store...
Running a promotion sounds simple: select a discount, launch the campaign, and watch sales go up. But many Shopify...

If you are heading into 2026 planning bigger campaigns, now is the right time to tighten your onsite conversion....
